
I’ve been loving abseiling lately.
You get the excitement of climbing and high lining with less the setup and effort.
If you’re looking for technical weekend adventure and I recommend this multi pitch abseil at Boars Head.
I’ve put together some field notes and photos from my last outing. It’s an updated and adapted version of a post by OzUltimate. If you have the gear and skills, it should help you wrap you head around some of the abseils on this face.
NOTE: It is your responsibility to be prepared for any abseil, including this one. This is an overview of the Boars Head abseil when I did it in 2020. Information below may no longer be accurate. Conditions change rapidly and it gets cold very quickly. Have a way to seek help if something goes wrong.
Access
From Katoomba, drive and park here.
Walk down a well-constructed track for 150m towards “Boars Head” rock – it’s the the obvious rock formation to the west across a narrow gully.
Abseil 1
Look for a set of chains on the slope towards the gully, opposite boars head formation. This is the start of the abseil route.
The first drop is 23m into the rainforest gully below. The gully drops away to the right, facing in, so keep left if your rope is short.
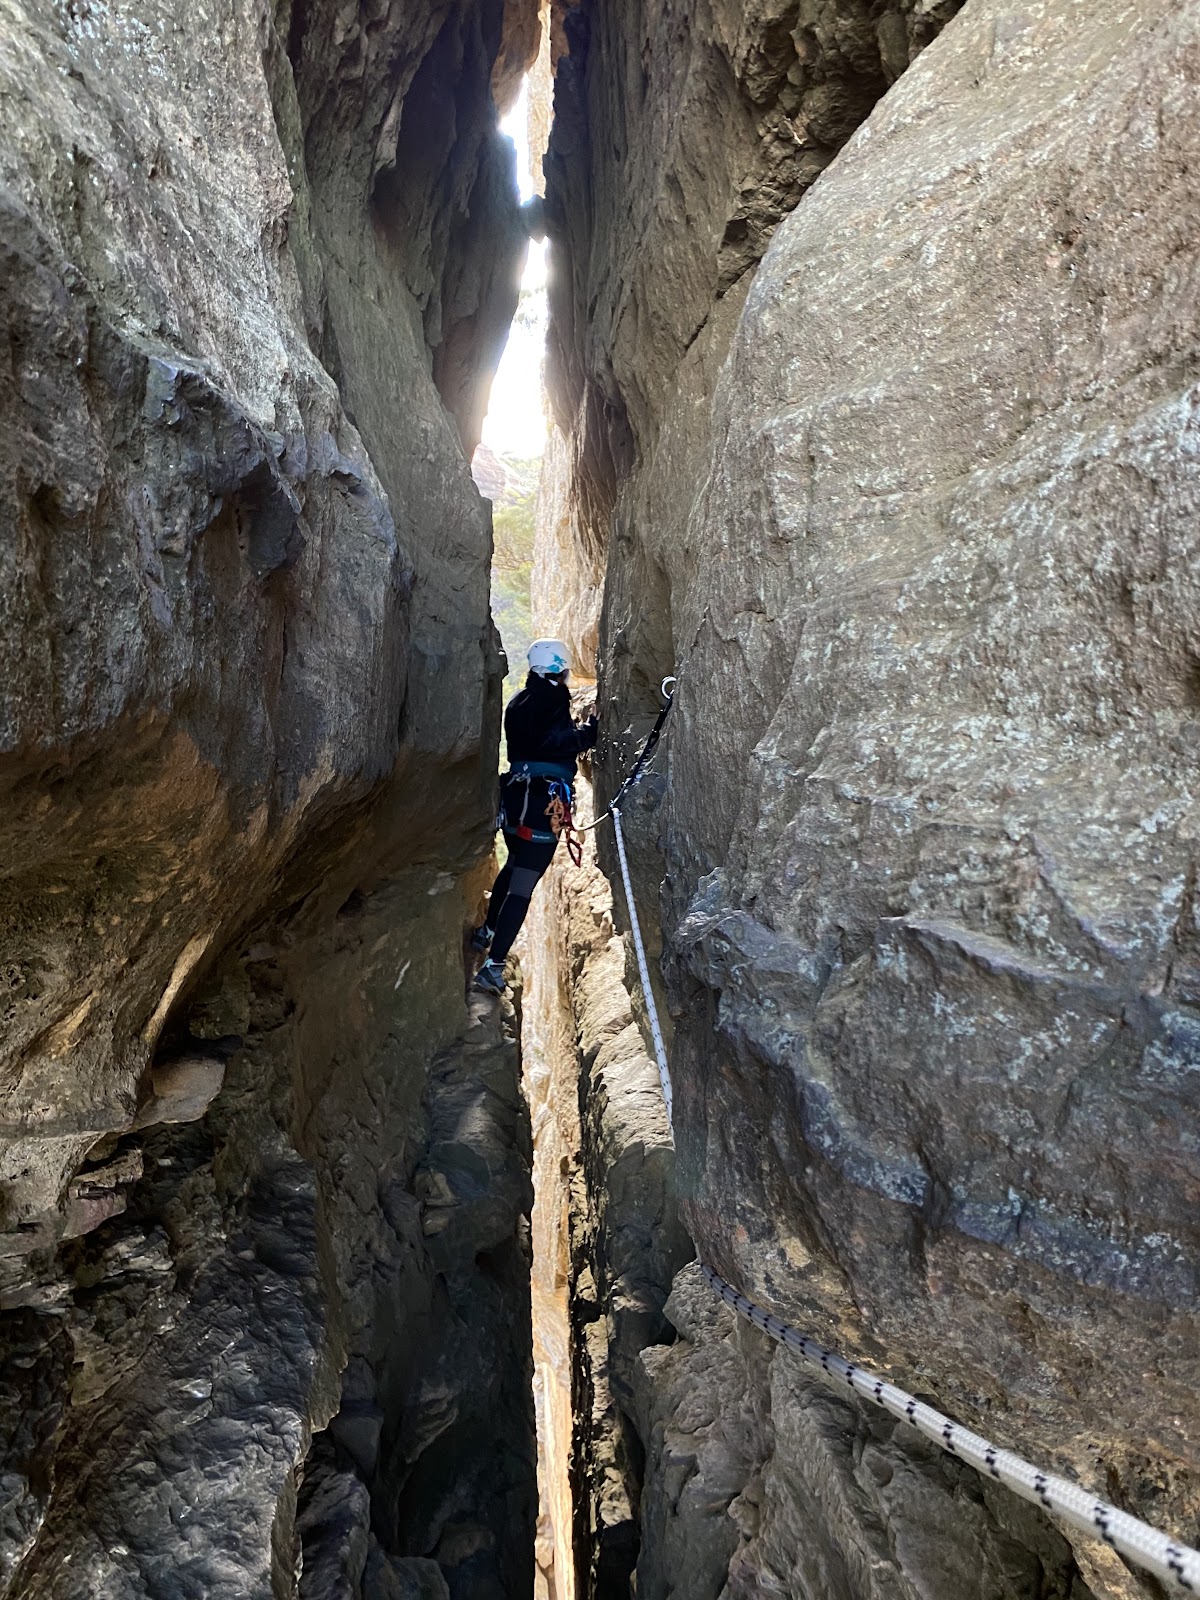
With Boar’s Head in your right, scramble south down the gully and then around on ledges to the right (south). The track is somewhat sketchy as is goes back uphill a tad. This leads to the exposed traverse through the bottomless slot of Green Salad Gully, the most spectacular part of the trip.
Traverse through Green Salad Gully
There are optional 2 ring bolts near the start of the ledges. If you want to set a safety line here it’s a good idea to bring a few quick draws (or thread through the ring bolts if you can be bothered). Near the start of the slot there is another ring bolt, followed by a carrot and two ring bolts in the slot, and another carrot at the anchor at the far end of the slot. So take at least that many spare carabiners (bolt plates optional if you want extra protection) to rig up a safety line here. From the bolt near the slot, you need about 17m of rope to protect the traverse, more if you want to protect all the way back to the first two bolts.
Abseil 2
At the end of the traverse, on the left side as you walk through, you’ll get to some chains and a ring. Anchor there for a 15m abseil down through the narrow slot onto the small ledge below.

Abseil 3
This ledge has more chains here for a 25m drop back underneath the slot down into a dry gully. There are a lot of loose rocks on this abseil. Watch for rope abrasion and note that the first abseilers are advised to take cover underneath the overhang at the bottom. This applies particularly to the rope pull down.

Abseil 4
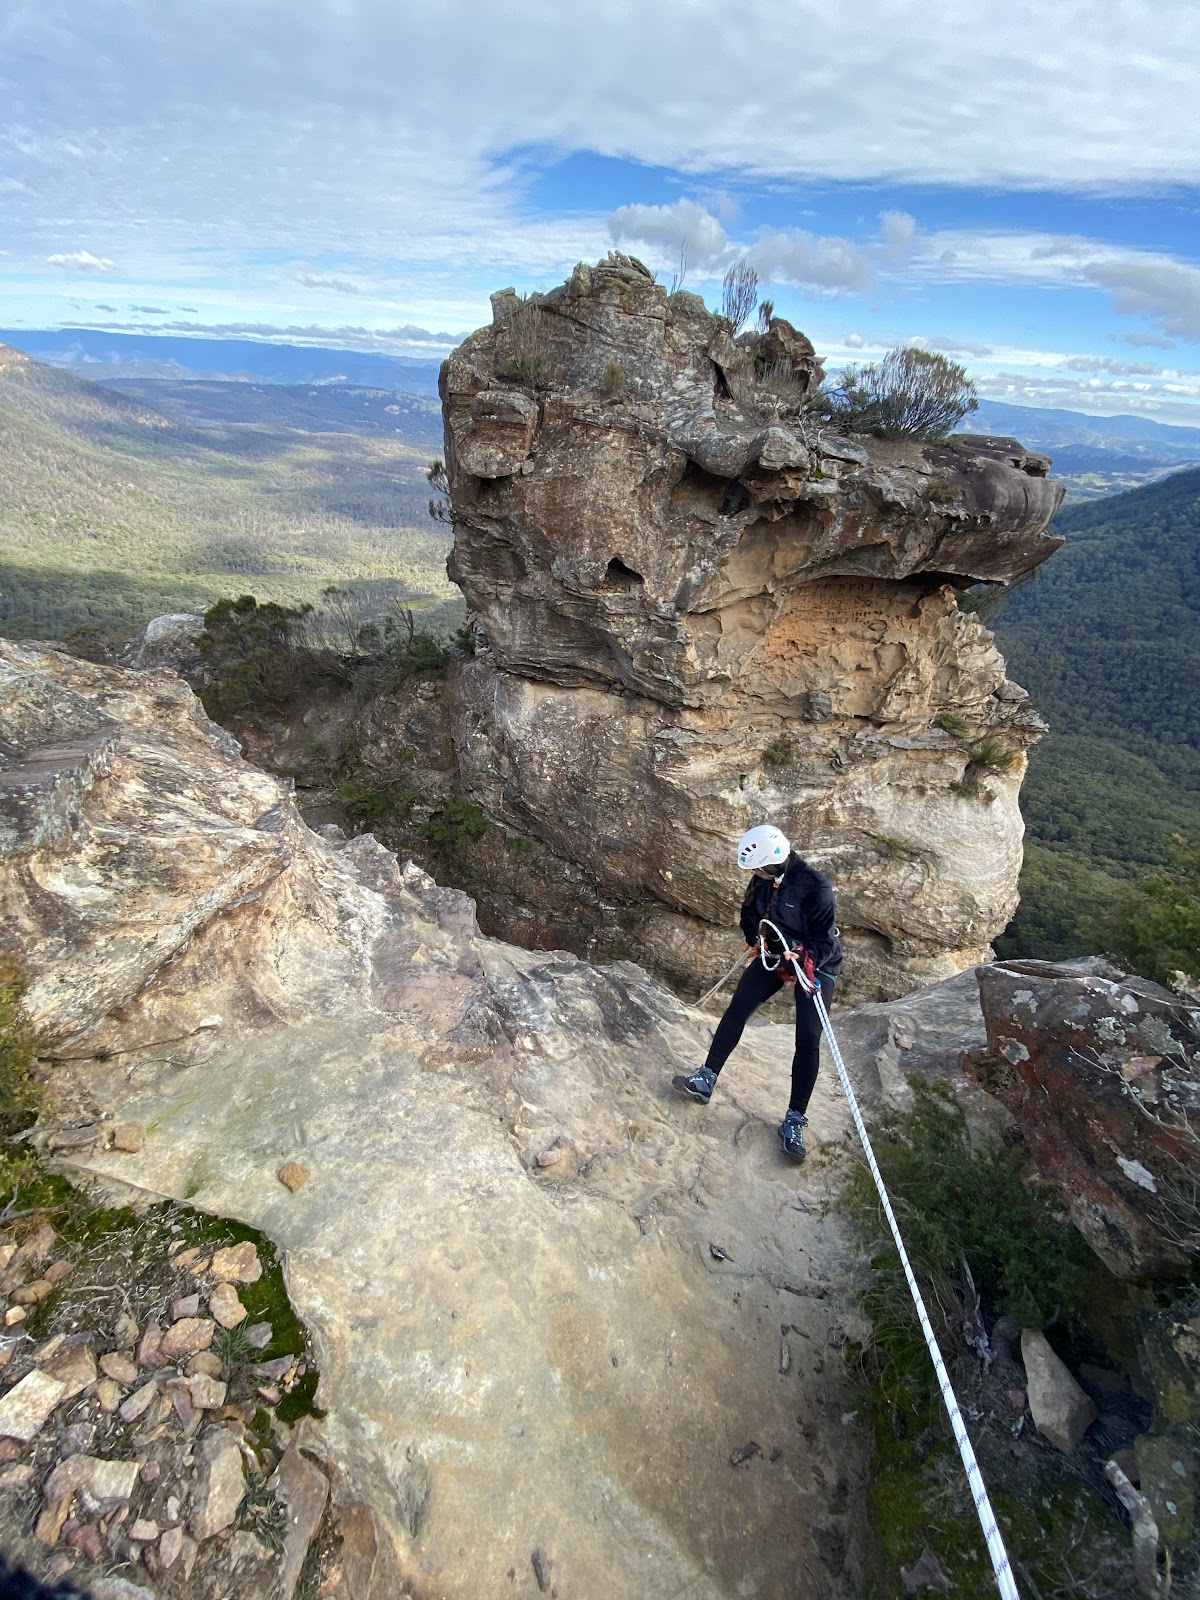
From the bottom of the gully it is another set of chains for a 27m abseil to the ground. If your rope is short, it is possible to scramble off from about 5m up, but be careful on as this abseil can be a bit slippery and it’s is very easy to dislodge rocks from the gully above.

Abseil 5
Once done, head around on a track to the right. You may want to rig another safety line as the path heads down on to a narrow ledge which drops away 30m to your left through small shrubs. Most coordinated people won’t need one, but newbies may feel safer with a backup.
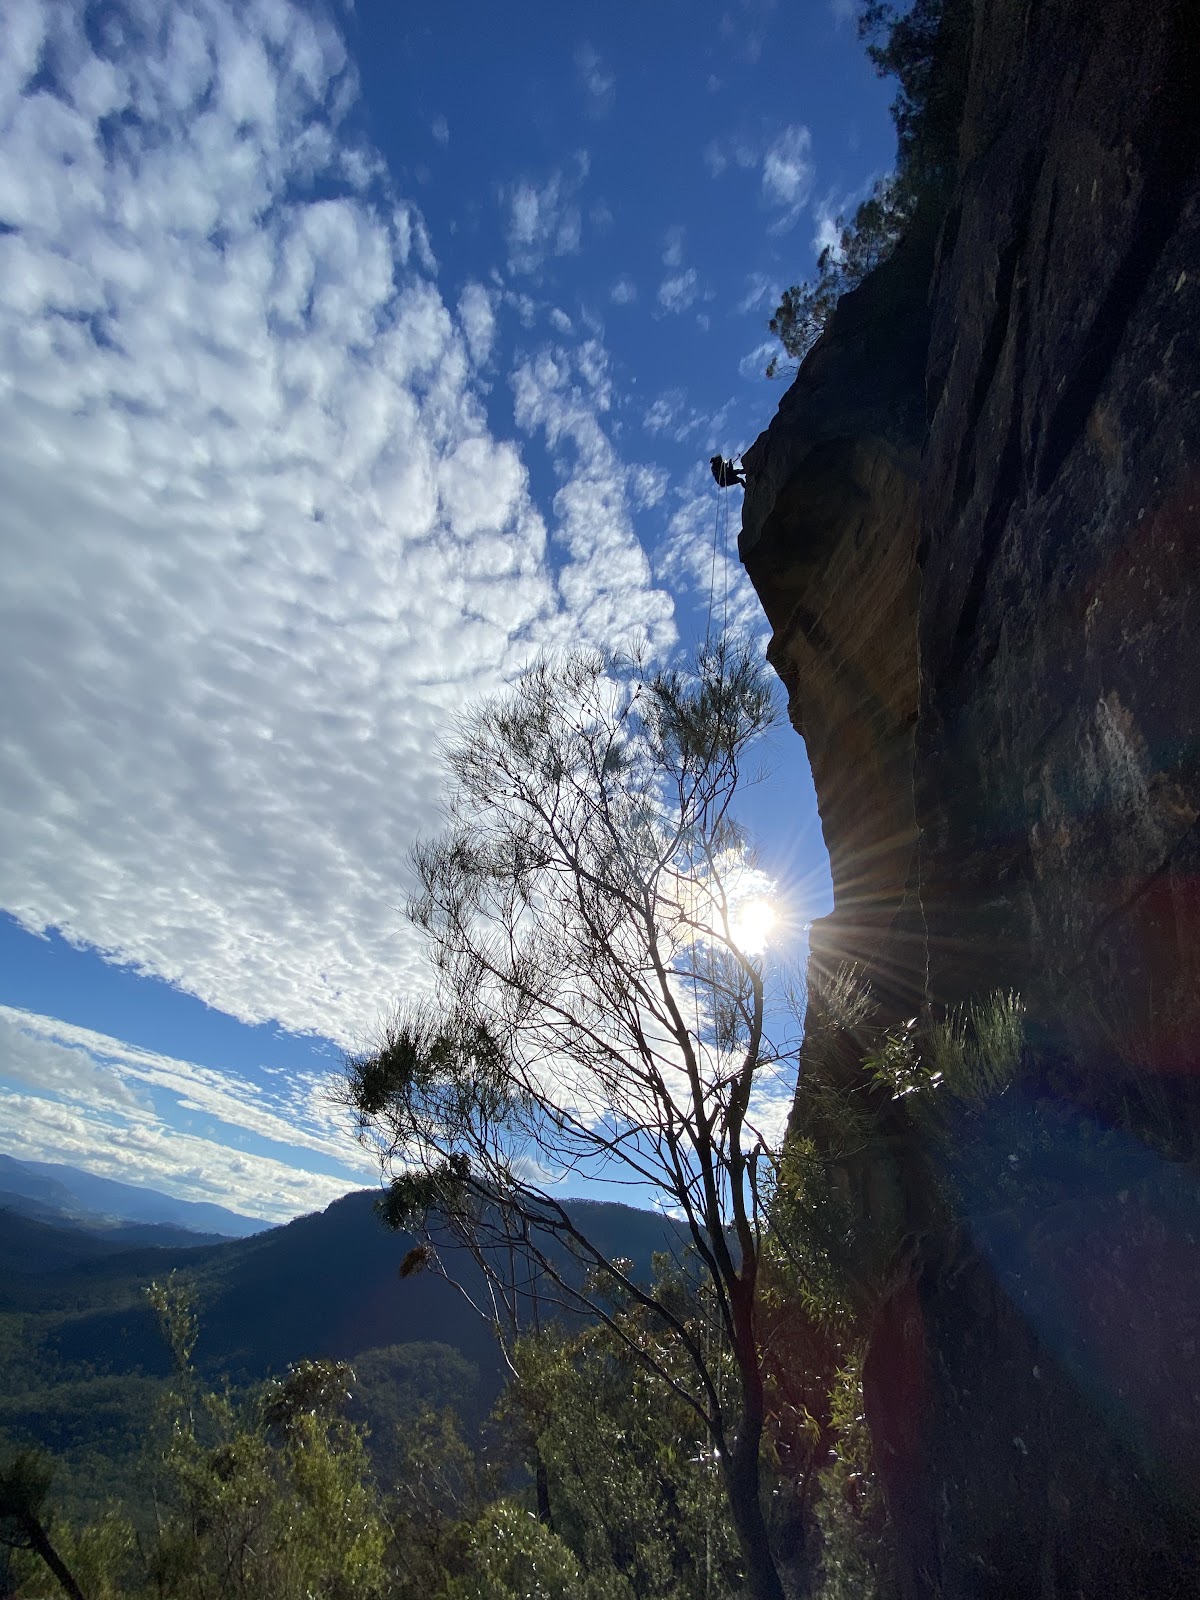
OPTION 1: The next abseil is from two ringbolts in an overhung wall on the point. There should be slings and either a ring or shackle there, but things go “missing” – so I’d recommend bringing a spare set and donate it to the cause.
This is a 35m drop between the trees off the slope. A good proportion is overhung, to the ledge below. The landing is a little tricky as it slopes out and is a little choosy/gravelly.
Exit to the track
There are a couple option to join back to Devil’s Hole track :
- From the end of abseil 5, it is a further 10-15m to the track below, if your ropes reach. Either way there is a fair bit of friction on the pulldown. Watch out for rocks…
- If you don’t have the length for a full drop, head off to the right (facing out to the valley) for about 15-25m and scramble or abseil (15m) down.
Follow the track back to the left (facing the valley), keeping the cliff to your left the for about 30-50mins. You’ll get to a sign (you’ll only see the back of it) where the track meets the Devils Hole track, and then head directly up the gully through the Devils Hole and back to the road. Fair warning, this is a steep track. Turn left when you get to the road to get back to where you started.
Abseil 5 (alternate option):
There is another option for the 5th abseil. I checked the anchors, but wasn’t sure to have the rope length. Here is the description:
“From the end of abseil four to traverse as normal and then continue another 40m from the point to a comparatively “big” gum tree with slings on. Not sure on the length – maybe 30m – but two ropes retrievable abseil would be advised… just in case. This comes down just past the gully mentioned above.”
Video of spot: https://www.youtube.com/watch?v=sLvGVzLUBgA

Other photos from the internet…